How to malt corn at home easily and without complications
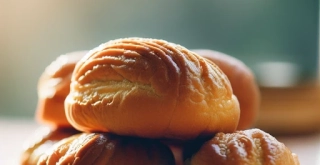
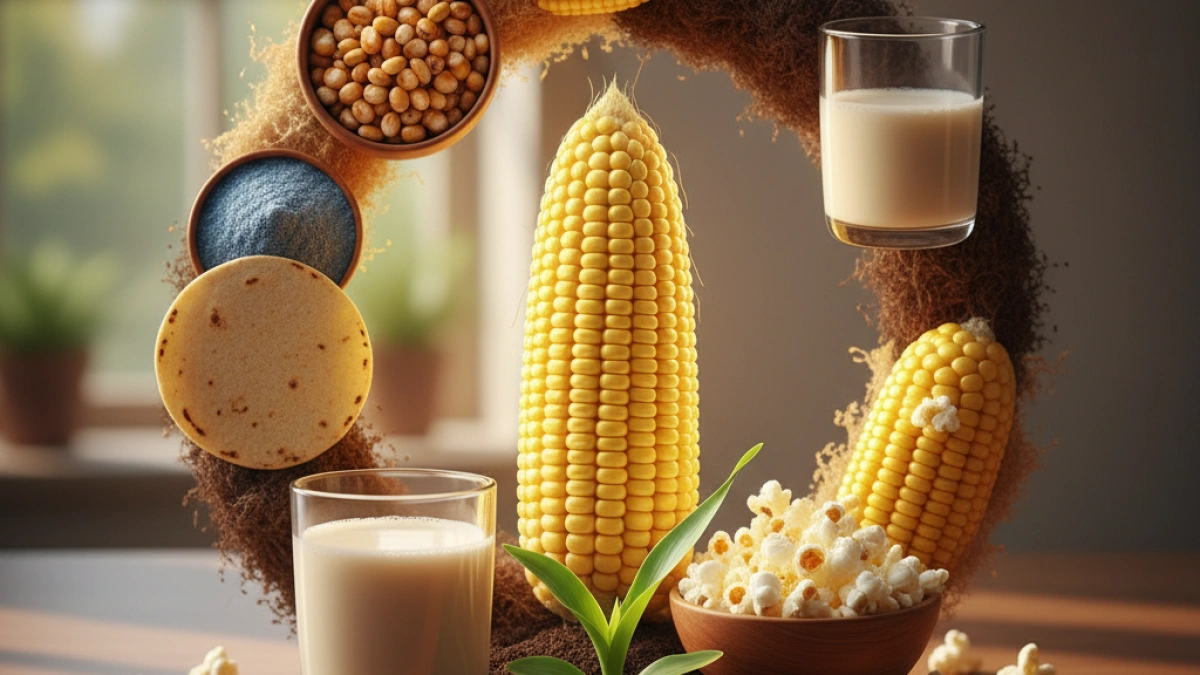
Malting corn is a fascinating process that allows you to obtain a versatile and nutritious ingredient, ideal for making home-brewed beers, breads, and other foods. Below, I will show you the simple steps to malt corn in the comfort of your home, in an accessible and uncomplicated way.
What is malting?
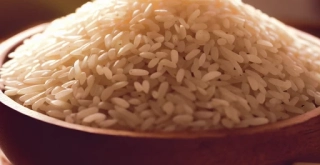
Malting is the process of germination and drying of grains, primarily barley, although it also applies to corn. During this process, the grains are activated and begin to develop enzymes that convert starch into fermentable sugars, which is essential for the production of alcoholic beverages and baked goods.
Necessary materials
Before you begin malting corn, make sure you have the following materials on hand:
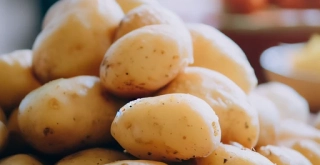
- Corn: Use high-quality corn, preferably organic.
- Water: You will need water for soaking and rinsing the grains.
- Trays or containers: To drain the water and allow germination.
- A cool place or drying area: To dry the corn once it has been malted.
Malting process
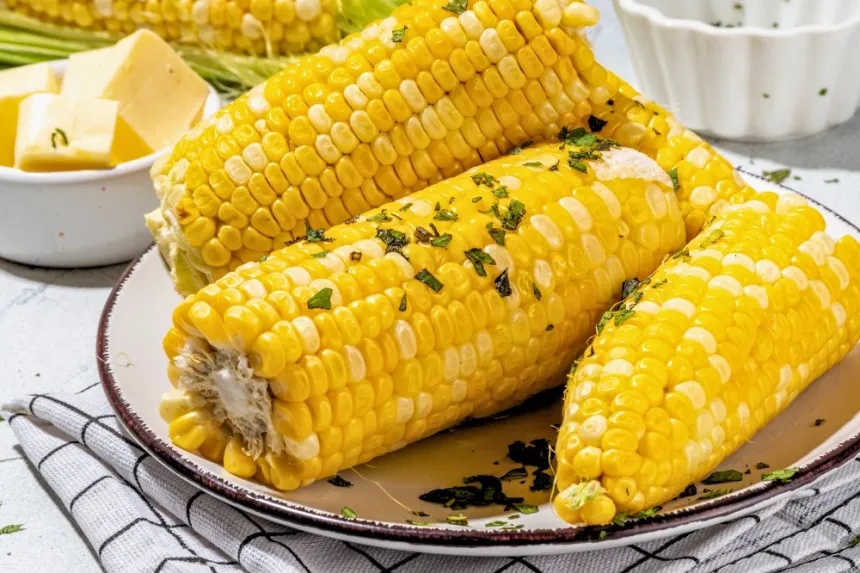
1. Selection of corn
Choose whole grain corn, avoiding any that show signs of mold or damage. If you have access to special malting corn, such as sweet corn, that would be ideal.
Read also
2. Soaking
Place the corn in a large container and cover it with water. Let the corn soak for 8 to 12 hours. Use enough water to completely submerge the grains.
3. Draining and rinsing
After soaking, drain the water and rinse the grains thoroughly with fresh water. This is important to remove any impurities that may have accumulated.
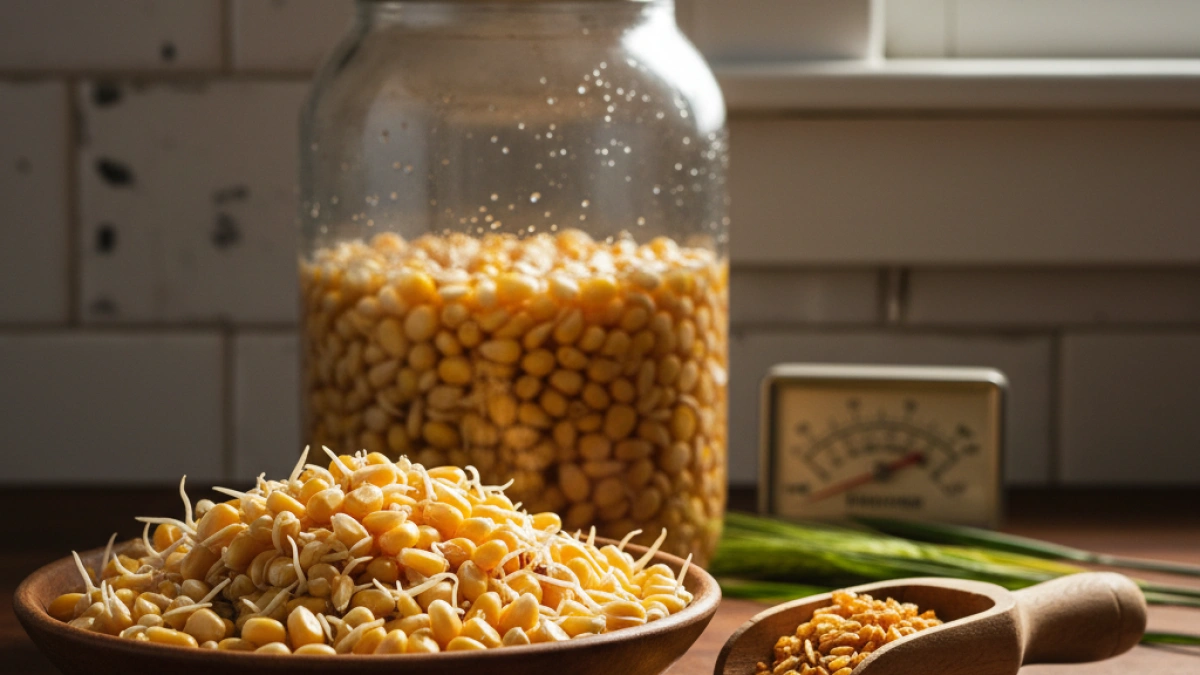
4. Germination
Place the corn on a tray or in containers that allow airflow. Lightly moisten the grains every 8 hours for two to three days. During this period, you will see the grains begin to germinate. The ideal temperature is around 20-22 degrees Celsius.
5. Stopping germination
Once the sprouts have reached the desired size (approximately the length of the grain), stop the germination by drying the corn. This can be done by placing the grains on a tray and leaving them in a well-ventilated area or in an oven at a low temperature.
6. Drying
Allow the corn to dry for several hours at temperatures not exceeding 60 degrees Celsius. It is important not to overheat the corn, as this can affect the flavor of the malting.
7. Storage
Once the corn is completely dry and cool, store it in an airtight container. You can use it immediately or save it for future uses.
Benefits of malting at home
Malting at home not only allows you to enjoy a fresh and customized ingredient, but it also gives you the opportunity to experiment with different types of corn. Additionally, it is an economical and rewarding activity.
Conclusion
Malting corn at home is a simple process that you can carry out by following these steps. It will not only allow you to enjoy a quality homemade product but also enrich your recipes and culinary projects.
I invite you to read more news of this kind on my blog, where you will find useful and practical information to explore the world of cooking and food preparation. Give it a try!