How to blanch green beans in a simple and effective way.
Blanching green beans is a cooking technique that helps maintain their vibrant color and improve their texture. Additionally, this process facilitates subsequent cooking and provides a fresher flavor. In this article, we explain step by step how to blanch green beans easily and effectively, so you can enjoy this nutritious vegetable in your meals.
What is blanching?
Blanching is a brief cooking method that involves immersing food in boiling water for a short period of time, followed by immediate cooling in cold water. This procedure is commonly used to prepare vegetables before freezing them or to enhance their color and texture.
Necessary materials
Before you begin, make sure you have the following materials on hand:
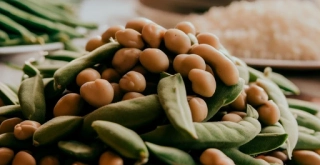
- Fresh green beans
- Water
- Salt (optional)
- Ice or cold water
- A large container for the water
- A strainer or colander
Steps to blanch green beans
1. Prepare the green beans
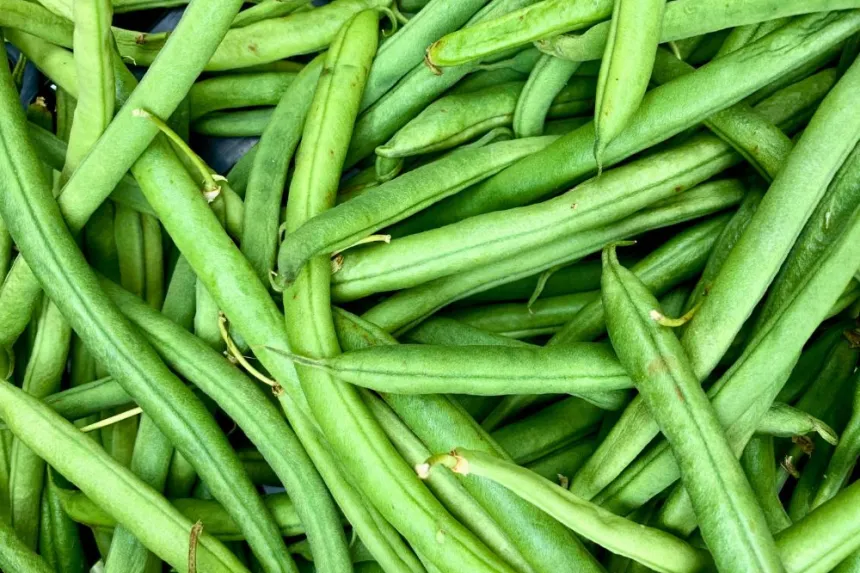
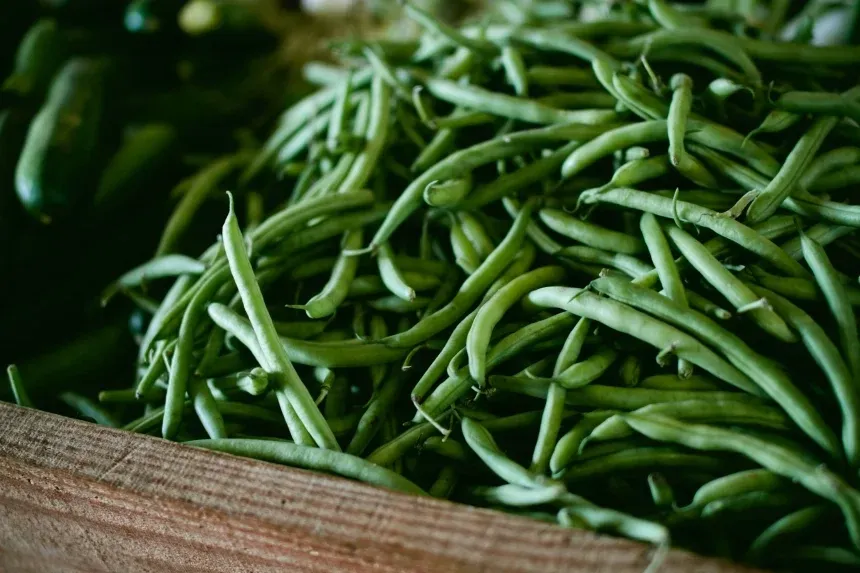
Start by selecting fresh, high-quality green beans. Wash the beans under running water to remove any impurities. Trim the ends, and if you prefer, you can cut them into smaller pieces.
2. Boil the water
Fill a large pot with enough water and add a pinch of salt if you want to enhance the flavor of the beans. Place the pot on the stove and bring the water to a boil.
3. Blanch the beans
Once the water is boiling, add the green beans. Make sure not to overcrowd the pot, as this can lower the water temperature and affect the blanching process. Cook the beans for approximately 3 to 5 minutes. The exact time will depend on the thickness of the beans and your personal preference for their texture.
4. Cool rapidly
When the beans are ready, it is crucial to cool them quickly to stop the cooking process. To do so, remove the beans with a strainer and immerse them in a container with cold water and ice for at least 5 minutes. This “ice bath” will help maintain the bright green color and crunchiness of the beans.

5. Drain and dry
After cooling, remove the beans from the cold water and drain them well. You can dry them with a clean cloth or let them drain completely. They are now ready to be used in your favorite recipes or to be stored.
Storage of blanched green beans
If you are not going to use the green beans immediately, you can store them in an airtight container in the refrigerator for a few days or freeze them to extend their shelf life. To freeze them, make sure they are completely cool before placing them in freezer bags.
Conclusion
Blanching green beans is a simple and effective process that enhances their flavor and color, as well as makes storage easier. By following these steps, you'll be able to enjoy this delicious food in various preparations, from salads to casseroles.
To discover more cooking tips and other delicious recipes, I invite you to keep reading more updates on my blog.