 Desserts
Easy
Desserts
Easy
Avocado Brownie
30 min
Vida Recetas Editorial
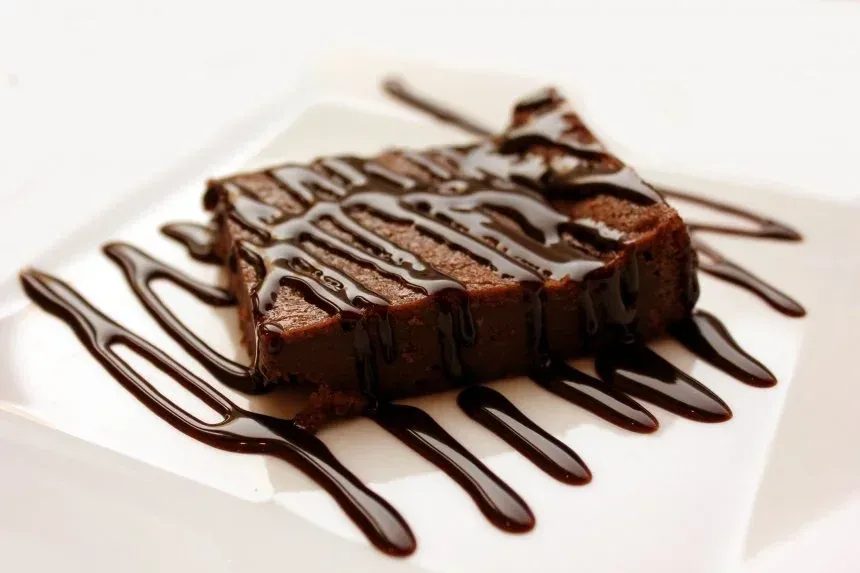
The chocolate brownie is one of the most beloved desserts in American baking. Its name comes from its characteristic dark brown color ("brown" in English), and although the first mention dates back to 1896, it wasn't until years later that it became popular with chocolate. This dense and moist cake, with its shiny crust and tender interior, is perfect for lovers of intense chocolate.
This brownie recipe is ideal for beginners due to its simplicity. You only need to mix basic ingredients like butter, dark chocolate (at least 70% cocoa), eggs, sugar, flour, and walnuts. The result is 9 generous portions, perfect for sharing or treating yourself. The key is not to overmix the batter and to control the baking time to achieve that characteristic texture.
There are many variations: with Nutella, nuts, lemon, or orange, but the traditional pure chocolate one is many people's favorite. If you're looking for an easy, quick dessert that always succeeds, this brownie is your choice. Plus, you can adjust the thickness by using a larger or smaller pan.
Prep
10 min
Cook
40 min
Servings
8
Calories
375 kcal
The first thing is to prepare the container where we are going to cook them. I used a 20 x 20cm glass tray and baking paper.
The size of the tray fits 9 generous brownies, but it all depends on how thick we want it to be. If you want them smaller, use a larger tray.
Line the tray and spread it with butter. Sprinkle the baking paper with chocolate powder. I didn't use flour because the last time I prepared it I had small specks of white flour left on the base.
With this trick we solve this problem and on top of that we give this cake more chocolate flavor.
Pour the grated chocolate or small pieces with the butter into a bowl and put it in the microwave for 4 minutes at medium temperature. Take out and mix the mixture well with a rod until there is a cream similar to chocolate cream.
Whisk the eggs with the sugar in a large bowl until there is a frothy cream. Add the spoonful of vanilla and baking soda. Pour the chocolate cream into the previous bowl and mix well with the rods.
Sift the flour with a sieve and add to the previous mixture. Stir very well until you get a homogeneous cream paste.
Pour the chocolate cream into the glass tray. I advise you to do it with a silicone spatula to take advantage of all the cream and that there is nothing left in the bowl.
Cut the walnuts into small pieces and pass them through a little chocolate powder. We put them in the cream and with a fork we cover them well with the chocolate.
Bake the brownie in the preheated oven at 180º C in the middle for 35-40 minutes with the oven hot up and down (without air).
As I mentioned in another recipe, everything depends on the oven, always watch with a fork that when you puncture it comes out dry.
When it has been in the oven for 20 minutes, cover it with a little aluminum foil so that the surface does not burn and the crust is perfect and crispy.
In my oven the preparation time is exactly 40 minutes but in my mother's oven with 30-35 it arrives. You shouldn't overdo it over time because you'll get some dry cupcakes that no one can eat.
Let it cool in the tray and when it is cold we cut it into several portions. Separate them from the baking paper and present them on a plate with some vanilla or chocolate ice cream, or with hot chocolate. For the most demanding chocolate palates.
This recipe has a easy difficulty level, which means it's accessible for cooks of all levels.
The preparation time is 10 minutes and the cooking time is 40 minutes.
This recipe is designed for 8 servings.
Yes, many ingredients can be substituted with similar alternatives. We recommend checking the recipe variations.
Store the preparation in the refrigerator for up to 3 days in an airtight container. Some preparations can be frozen for up to 3 months.