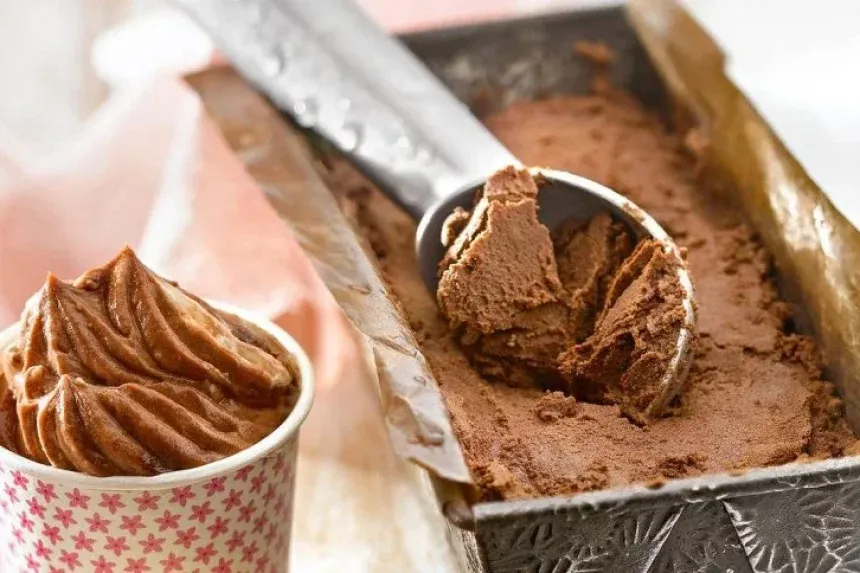
Recipe of Homemade chocolate ice cream
Homemade chocolate ice cream is a classic dessert that wins everyone over with its intense flavor and creamy texture. If you're looking for how to make ice cream that beats the store-bought version, this recipe is perfect for you. Its origins trace back to ancient civilizations that already enjoyed cocoa drinks, but it wasn't until the 17th century that it became the ice cream we know today. This homemade version stands out for using 70% chocolate, giving it a deep flavor and less sugar than commercial ones.
The preparation is simple though it requires patience. The base is made with cream, condensed milk, and egg yolks, gently heated until a silky custard forms. The chopped chocolate melts into the warm mixture, then it's cooled and churned to incorporate air. The result is a dense and creamy ice cream, without ice crystals, ideal for cocoa lovers.
This ice cream is perfect for special occasions or to treat yourself at home. You can serve it in cones, cups, or with berries. Plus, it's a versatile recipe: you can add nuts, coffee, or even a splash of liqueur. If you want a dessert that impresses and adapts to your taste, this homemade ice cream is your best choice.

Prep
24 min
Servings
3
Calories
305 kcal
Ingredients
Directions
-
1
First we cut half of a chocolate bar into small pieces with the help of a good knife. We reserve for the end of the preparation.
-
2
For the ice cream base, we have a refractory dish where we put the liquid cream, the condensed milk and heat until it hardens.
-
3
In a separate bowl, beat the yolks with the help of a hand mixer until they have a creamy texture.
-
4
Add the yolks to the heavy cream, also the spoonful of vanilla essence, the chocolate in pieces and the cocoa powder.
-
5
Stir until the chocolate melts, once it is dissolved, whisk everything very well until the ingredients are well integrated.
-
6
Let it simmer for a few minutes and without stopping stirring until it thickens a little (it should not boil or it will cut).
-
7
Let the chocolate cream cool completely before putting it in a bowl.
-
8
We put the whole mixture in the fridge. We must leave it there for at least three hours before we start working with it.
-
9
To work with the cream we have to leave the cream for several hours in the fridge and then we can butter it. The objective is to turn the cream we have into a kind of butter where we must break the ice crystals through movement. Introducing air to the mix (by means of a refrigerator or hand shaking) is the most important step in achieving creamy ice cream.
-
10
When we make the ice cream manually, the recommendation is to have the cream in the fridge for about three hours and then go to the freezer for another hour of rest. Finally, we will spend another two and a half hours stirring the ice cream in the freezer every so often to break the crystallization.
-
11
To remove it, we take it out of the fountain and transfer the cream to a metal bowl that we have previously had in the fridge (it must be very cold).
-
12
Whisk with rods to prevent crystals from forming, since no matter how much fat the base of the ice cream has, they can form.
-
13
For the first hour I recommend doing it every ten minutes, then every thirty minutes and so on about three times.
-
14
At the end of everything, we add the chopped chocolate chips and then leave them permanently in the freezer until the next day.
-
15
Before serving, take out the ice cream about 10 minutes before serving.