How to Use an Oven: Oven Settings Explained, Temperatures and Common Mistakes
 By
Diego Cortés
By
Diego Cortés
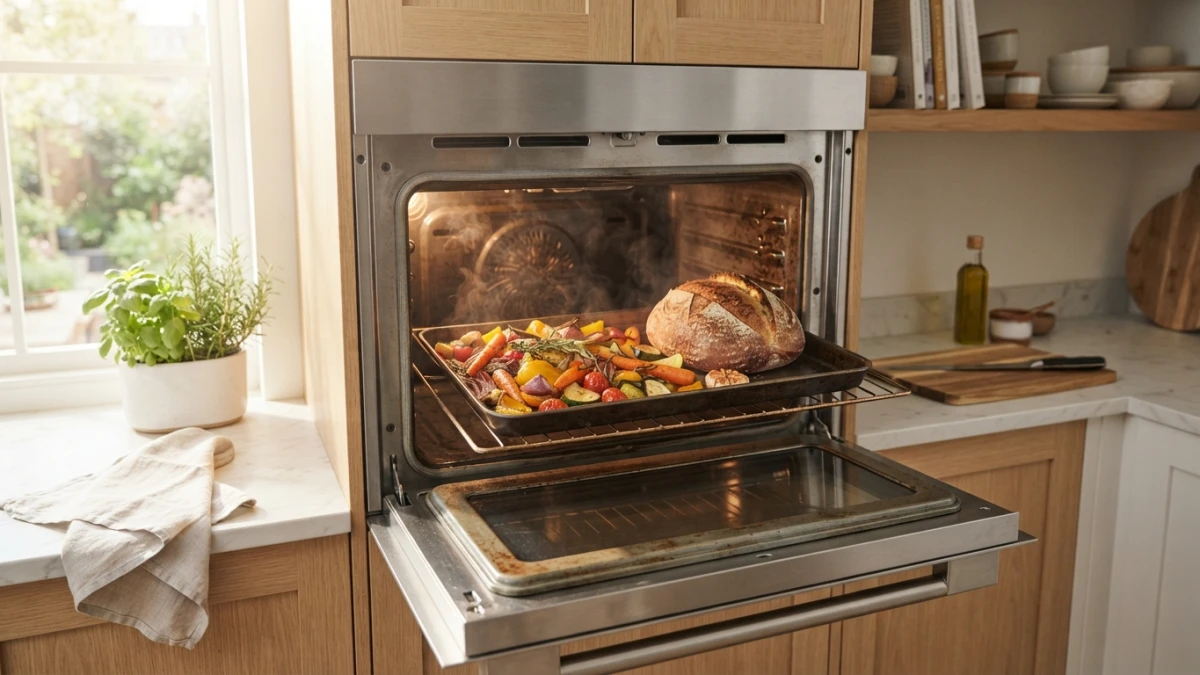
Knowing how to use an oven goes beyond turning the dial and waiting: choosing the wrong setting sinks cakes, dries out roasts and stretches every cooking time. This guide explains what each mode does, how long to preheat, which rack to use for each dish and the mistakes that ruin your bakes.
Oven settings explained: what each symbol means
The classic mode, with heat from above and below and no fan, is called static or conventional: the top and bottom elements turn on at the same time and cook evenly from the center outward. It is the natural choice for baking and for any dish that fits on a single tray, because it reproduces the cooking conditions used to test most homemade recipes.
The fan mode, also called hot air or convection, moves the air inside the oven and spreads the heat in seconds. Its big advantage is that it lets you bake two trays at once with an even color, and its downside is that it dries out the surface of food more: what you gain in speed you lose in moisture if you do not adjust the temperature.
Oven symbols take five minutes to learn: two horizontal lines (top and bottom) mean static mode; a fan inside a circle is hot air; a wavy line at the top is the broiler; and a single bottom line means bottom heat only. If your oven has a digital display, these modes usually appear with equivalent names or icons in the menu.
Top and bottom heat: the mode you use without noticing
Static mode is what almost every recipe assumes when it does not specify another one: sponge cakes, muffins, tarts, lasagnas and casseroles that need even cooking from the top, the bottom and the center. Because the air does not move, the environment stays more humid, something delicate batters appreciate.
Use it with a single tray centered in the oven. If you fill every rack, the lower tray blocks the heat that should reach the upper one and you end up with one dish raw and another burnt. When a recipe does not state the mode, assume top and bottom heat at the temperature given.
Fan or convection: when to use it and when to skip it
Choose convection for cookies, roasted potatoes, vegetables, whole chicken and anything that benefits from even browning and crispy skin: the moving air dries the surface instantly and colors it evenly. It is also the right mode when you need to get the most out of the oven with two trays at once.
The mandatory convection adjustment is to lower the temperature by about 15-20 °C (25-30 °F) compared with the conventional recipe and to check earlier, because cooking time also shortens by about 25%. If you keep the same temperature, the outside will brown (or burn) before the center is cooked.
Avoid the fan in very delicate sponge cakes, soufflés, meringues and custards: the air current can sink the batter or crack the surface before the inside sets. If you like the effect of hot air in small portions, an air fryer works on the same principle and we explain how to use an air fryer in its own guide.
Broiler, gratin and bottom heat only: the detail you are missing
The broiler (top heat only at maximum power) is for gratinating, browning and melting: chicken Milanese with mozzarella, quesadillas, vegetable gratins or the final color of an already cooked roast. The tray goes close to the element and you must watch it, because in two minutes it moves from perfect golden brown to burnt.
Bottom heat only concentrates the blast of heat on the base: it is ideal for homemade pizzas and tarts with a moist base, because it browns the bottom without drying out the top. On many ovens the broiler asks you to leave the door slightly ajar or to use turbo broil (broiler plus fan) for thick pieces; check your model's manual before the first use so you do not damage the thermostat.
Reference temperatures: which number to use for each dish
As a starting point, delicate baking (sponge cakes, muffins, cupcake batters) bakes at 170-180 °C (340-350 °F) and cookies at 180 °C (350 °F). Breads and yeast doughs need hotter ovens, between 200-220 °C (400-425 °F), so they rise before the crust sets.
For savory dishes, whole chicken and thighs roast at 190-200 °C (375-400 °F), vegetables at 200 °C (400 °F) and homemade pizza at 220-250 °C (430-480 °F) if your oven reaches it. For gratinating, the broiler at maximum for 3-5 minutes is enough in most cases.
The tip that prevents the most failures is to check the real temperature with an oven thermometer hanging from the rack: home ovens usually drift by up to 20 °C from what the dial says, and that drift explains half of the cakes that come out raw in the middle and end up in the bin.
Preheating properly: the minutes nobody wants to wait
Preheat for 10-15 minutes until the pilot light or the display confirms the temperature before you put the food in. Baking in a cold oven stretches the cooking time, sinks cakes and leaves the center raw: that initial blast of heat is part of the recipe, not a decorative detail.
Opening the door to peek is expensive: every time you open it the oven loses between 25 and 50 °C and the cooking is delayed by several minutes. Use the interior light and the glass to check the browning and trust the timer for the total time.
If your recipe calls for a hot oven or preheated to maximum (pizza, bread), leave it five extra minutes after the signal: at high ranges the temperature takes longer to stabilize and those minutes make the difference between a crisp base and a gummy dough.
Where to place the tray: rack height changes everything
The center rack is the position for almost everything (cakes, cookies, roasts), because it receives even heat from above and below. Bake one tray at a time, centered: it is the most predictable way to cook.
Use the lower third for pizzas, tarts with a moist base and breads, so the bottom browns without burning the top. In gas ovens, where heat comes from below, move up one rack compared with what you would do in an electric oven. The upper third is for gratins and final browning.
Rotate the tray halfway through cooking: almost every oven has hot spots (usually at the back or on one side) and turning distributes the browning evenly. It is a ten-second move that avoids the classic loaf toasted on one side and pale on the other.
Common oven mistakes and how to avoid them
Not preheating, opening the door constantly and overcrowding the trays are the three failures that stretch cooking times the most and leave dishes raw or dry. All three are fixed with planning: turn the oven on first, prep the ingredients while it heats and respect the racks.
The pan matters too: glass (Pyrex) conducts differently from metal, so lower the temperature by about 15 °C when a recipe was designed for a metal tray. Dark metal browns faster than light metal, and glass does not belong under the broiler: the temperature shock can crack it.
Do not skip the cleaning. Built-up grease smokes, gives a stale flavor to sweets and burns before the food does. Clean spills while the oven is still warm with water and baking soda and leave it spotless between uses: besides cooking better, you extend the life of the appliance.
Wrap-up: how to use an oven in six steps
First, preheat for 10-15 minutes with the right function. Second, use static mode by default and save the fan for quick browning or double trays. Third, if you use the fan, lower the temperature by 15-20 °C. Fourth, place the tray on the center rack without overcrowding. Fifth, rotate the tray halfway through. Sixth, confirm doneness with an oven thermometer, not by eye.
More cooking guides to keep learning
Mastering the oven is a big step, but there are more appliances that change the way you cook. If you want to keep going, check out our guide to how to use an air fryer, the one on how to use a pressure cooker and, to complete your cookware, the guide to how to choose pots and pans.