Easy cooking recipes
We have 2579 recipes for you and 541 articles 🍲💖
- Cakes and Pies
- Sacher cake
Recipe of Sacher cake
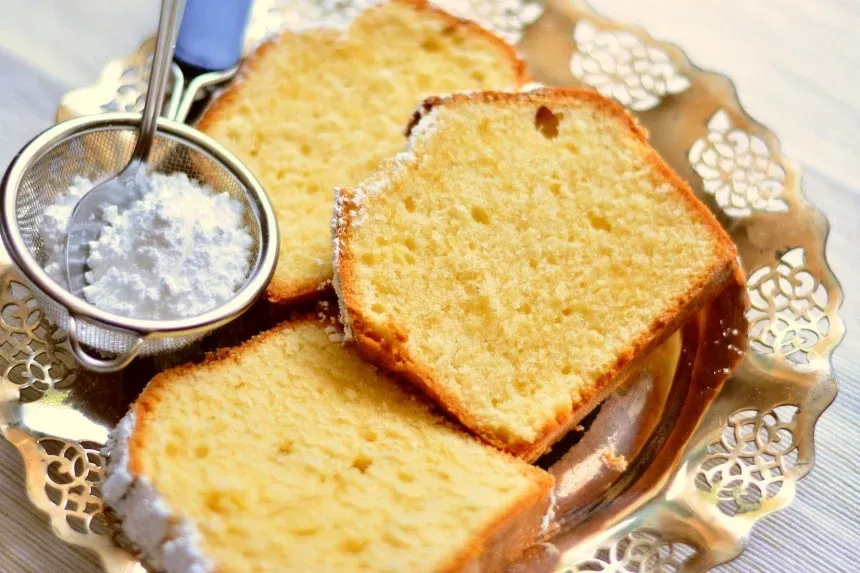
For your special birthday, I'm here to teach you how to prepare a delicious Sacher Cake to share with your family and friends.
To complement a strawberry flavored jelly and soft drinks.
Recipe Summary
Cooking
90 min
Servings
20
Difficulty
Easy
Ingredients
Instructions
1
Step 1
We start by separating the whites from the yolks. In a bowl, place the egg whites and beat until stiff, then add the granulated sugar and beat until a firm meringue is formed. Book.
2
Step 2
In a small pot, place 5 cm of water, we will make a water bath at moderate-low heat, on it place a container suitable for a double boiler and place the chocolate coating and butter, leave until it melts completely. In a bowl, place the melted butter and chocolate, the sifted brown sugar and bitter cocoa powder, the vanilla essence and the pinch of salt, mix until integrated.
3
Step 3
Add the yolks one by one, mixing well before adding the next one.
4
Step 4
Add 1/3 of the sifted flour and 1/3 of the meringue to this mixture and mix in an enveloping and gentle way until integrated, continue with the rest of the flour and meringue. Once everything is integrated, add the baking soda diluted in the vinegar and also add in an enveloping way to the shake.
5
Step 5
Divide into two pre-buttered and floured 22 cm molds (It can also be in a single mold).
6
Step 6
Bake in a preheated oven at 180°C under wrapping heat for 25 to 30 minutes if they are with molds. If it is a mold, it may take 40 minutes or more. You'll know it's ready when you bury a stick in it and it comes out clean. Let it cool down.
7
Step 7
The apricot jam must be sifted so that when covering the cake it is smooth. Book.
8
Step 8
This cake has only two layers of cake, in the case of using two molds, pair so that they are straight. Place some jam where the cake will go (it has to be a smaller tray than the cake to be covered later with the chocolate icing), place a cake and place a generous layer of apricot jam, then place the other layer of cake and seal on all sides with the jam. Refrigerate for 30 minutes.
9
Step 9
After this time, place on a rack and under it a plate (to receive the icing that will fall around), drop the chocolate icing, which has to be at a temperature of 37° to 40°C and let gravity do its work, although with a spatula they can even out the icing on the sides. Once ready, transfer to the presentation plate or tray and refrigerate for 10 minutes.
10
Step 10
After this time, the final decoration can be made with the icing that was left, it is placed in a disposable pastry bag and a small hole is made to draw, it will be thicker and what is drawn will not run away. In this case I made the decoration that Anna Olson makes in her version of Sacher cake, 3 stripes are made that are then crossed with 3 stripes that are then crossed with 3 stripes to end with 3 pearls, something very simple that looks very nice.
11
Step 11
And to be enjoyed optionally, you can accompany it with a little bit of Chantilly cream.
Tips for this recipe
Here are some useful tips to perfectly prepare Sacher cake and get the best results.
- Always use fresh ingredients for the best flavor
- Prepare all ingredients before starting to cook
- Monitor temperature during cooking to prevent burning
- For recipes requiring long cooking time, maintain low and steady temperature
Frequently Asked Questions
This recipe has a Easy difficulty level, which means it's accessible for cooks of all levels.
The preparation time is minutes and the cooking time is 90 minutes.
This recipe is designed for 20 servings.
Yes, many ingredients can be substituted with similar alternatives. We recommend checking the recipe variations.
Store the preparation in the refrigerator for up to 3 days in an airtight container. Some preparations can be frozen for up to 3 months.
Recipes Categories
Recipes of Appetizer
Recipes of Beans
Recipes of Breads and pastries
Recipes of Cakes
Recipes of Cakes and Pies
Recipes of Cheeses
Recipes of Chicken
Recipes of Chiles - Aji
Recipes of Cookies
Recipes of Corn
Recipes of Creams
Recipes of Desserts
Recipes of Drinks
Recipes of Eggplants
Recipes of Eggs
Recipes of Empanadas

Recipes of Fish
Recipes of Guatitas
Recipes of Healthy
Recipes of Jams and Sweets
Recipes of Lasagnas
Recipes of Legumes
Recipes of Meat
Recipes of Non-alcoholic drinks
Recipes of Pasta - Noodles

Recipes of Pizzas
Recipes of Potatoes
Recipes of Puddings
Recipes of Pumpkin
Recipes of Puree
Recipes of Rice

Recipes of Salads
Recipes of Sandwiches

Recipes of Sauces
Recipes of Seafood

Recipes of Shakes

Recipes of Soups

Recipes of Teas and Coffees
