Skip to content
VidaRecetas

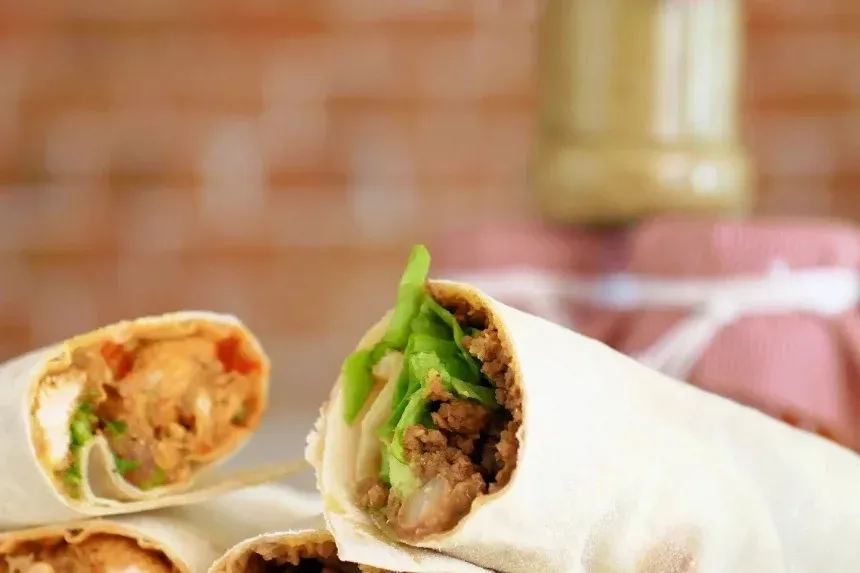
Recipe of Chicken fajitas with avocado

Vida Recetas Editorial

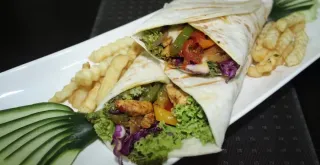
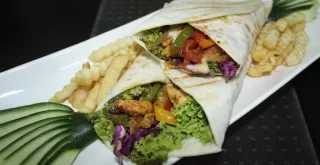
The chicken fajita with avocado is a versatile and flavorful dish that combines the juiciness of chicken marinated with spices, the freshness of peppers and onion sautéed, and the creaminess of avocado. Originating from Tex-Mex cuisine, this recipe has become popular worldwide for its ease of preparation and its ability to adapt to each diner's tastes.

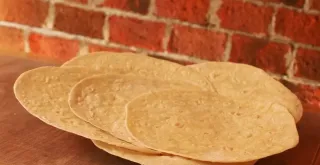
In this version, we prepare homemade tortillas from precooked corn flour, which are the perfect base to wrap the filling. The chicken is cut into strips and cooked with spices to taste, while the peppers and onion add a crunchy and slightly sweet touch. The avocado, sliced or cubed, is added at the end to give a buttery texture that balances the flavors.

This recipe is ideal for an informal dinner with friends or a family meal, as each person can assemble their own fajita with their preferred ingredients. Additionally, it is a healthy and low-fat option if you control the amount of oil. For a lighter variation, you can use whole wheat tortillas or even lettuce as a wrap. Go ahead and make them to surprise everyone with this colorful and flavorful classic!

Share:
Recipe of Chicken fajitas with avocado
Image generated with AI

Prep

30 min

Cook

1 min

Servings

4

Ingredients

Directions

  1. 1

    The most important thing of all is to find good flour, since you can't use just any cornmeal (believe me, I say this from experience 😅). If you want to save yourself a thousand failed attempts, it has to be PRE-COOKED cornmeal. You can use brands like PAN or Goya (personally I use the PAN brand more). And if you can't find it, try a brand of pre-cooked corn flour suitable for making arepas.

  2. 2

    Once the issue of flour has been solved, the second most important part comes, moisturizing it well. To do this, place it in a large bowl and add the water in short spurts, stirring with a tab and pressing so that the starch hydrates well. The package itself provides a recommended amount of water, but my advice is that you keep pouring until when you sink your finger there are no cracks or the dough breaks. It looks like a kind of soft plasticine.

  3. 3

    You can leave it in the fridge covered with film so that it finishes hydrating. But the truth is that it also admits being manipulated immediately if you wet your hands first. Take out pinches and make balls that are similar in size to a tennis ball. The size of the ball depends on the size you want for your tortillas. Reserve them on a plate and pick up two large sheets of baking paper.

  4. 4

    In the absence of a tortilla press, I'll tell you my trick. Place one of the balls between the two sheets of baking paper, take a large plate and place it on top of the ball, dropping your weight so that the relief on the lower part serves as a mold. Depending on the size of the ball and the plate, it may be more or less thick, but with this you already have the round shape to finish flattening it with a rolling pin.

  5. 5

    As it is a dough that requires a lot of moisture, it breaks easily. So just peel off the sheet of baking paper from the top and pick up the dough by the bottom paper. The pan has to be already hot before you dump the dough into it. When placing the dough do not be afraid, it's best to do it quickly (almost throwing the dough into the center of the pan) and then carefully peel off the paper so that the dough does not break.

  6. 6

    Once the paper is peeled off, we can use it again to flatten another ball of dough. However, when you have approximately half of the balls you will need to change the paper, since due to moisture it tends to soften and break. On occasion I have tried albal paper or film, but the touch and handling make baking paper more comfortable for me to handle.

  7. 7

    Make sure the fire doesn't get too strong. If you don't trust the pan, you can put a rubbed drop of oil. Once the edges are started to be made, it means that the center is sealed, it should be almost 1 minute for the first side. Take off with a spatula and turn it over. You will know that it is well done because it starts to swell due to the vapor on the second side. If there are cracks on the surface, the air escapes and doesn't swell as much, but don't worry, they look good anyway.

  8. 8

    As they are done, let them rest on a plate. After cooling down, you can check if they have been elastic when folded. If they feel stiff, it could be either because they lack water or because they have been overcooked (maybe because the fire is strong or cooking them for a long time). When you get the point it's super satisfying and it has absolutely nothing to envy the ones purchased. To which, by the way, they use refined vegetable oils precisely to prevent them from drying out.

  9. 9

    For the filling, the most comfortable thing is to have some things already prepared. Be careful to buy the chicken already cut into strips, which is more expensive than buying the breast and cutting it yourself. If avocados are in season, it's easier to find them good and cheap, in flavor there is an abysmal difference from buying guacamole made... although the 95% avocado one is not bad

  10. 10

    Spice the chicken by massaging with clean hands and add a spoonful of oil to the pan. Give it a strong heat stroke at first if you want to mark it, although in this case I will leave it soft. When it is well cooked, set aside and add another tablespoon of oil to sauté the vegetables. If you like it to be something crunchy, I recommend you don't overcook it. When you see a bright color, keep it away from the fire

  11. 11

    To assemble the avocado fajitas, I opt for two ways. The first, you make a guacamole with the avocado, 1 tablespoon of oil, salt, lime, coriander and if you want a touch of paprika or chopped tomato. Place it on the base and put the vegetables and chicken on top. This way everything is more subject to the tortilla and is eaten more comfortably.

  12. 12

    And for the other option, place a spoonful of Greek yogurt on the base as a sauce, add the vegetables, the chicken and the sliced avocado with dried coriander sprinkled on top. Personally, I prefer this one when the avocado is ready, since the texture when biting is delicious

Frequently Asked Questions

How difficult is it to prepare Chicken fajitas with avocado?

This recipe has a easy difficulty level, which means it's accessible for cooks of all levels.

How long does it take to prepare Chicken fajitas with avocado?

The preparation time is 30 minutes and the cooking time is 1 minutes.

How many people does this recipe serve?

This recipe is designed for 4 servings.

Can I substitute some ingredients?

Yes, many ingredients can be substituted with similar alternatives. We recommend checking the recipe variations.

How should I store this preparation?

Store the preparation in the refrigerator for up to 3 days in an airtight container. Some preparations can be frozen for up to 3 months.

Recommended recipes