Microwave Mug Cake: How to Make It Fluffy in 5 Minutes
 By
Diego Cortés
By
Diego Cortés
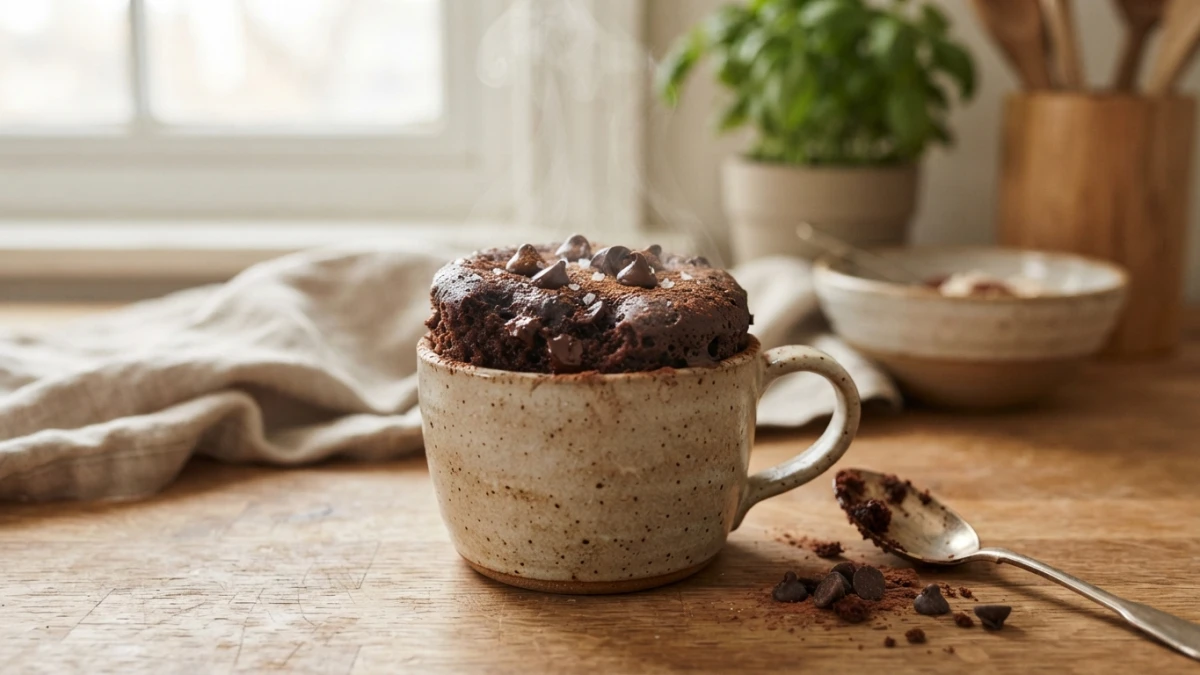
A microwave mug cake is ready in five minutes, with no oven and in the very mug where you mix it. It is not an emergency trick: it has its own proportions, times that depend on your appliance's wattage and clear signs that tell you when it is done.
Microwave Mug Cake: Why It Bakes Differently (and Why It Still Works)
A microwave does not heat the air the way an oven does: it makes the water in the batter vibrate, so the heat is born inside the mixture. That is why a single serving is done in 1 to 3 minutes while a pan cake takes 40. Understanding that mechanism explains almost everything that happens next.
The first consequence is visible: it does not brown and the texture is moister, with a centre that feels like a soft pudding. The second is speed: the batter rises in seconds and needs free space, so a wide mug helps and you should not fill it to the rim.
Residual Heat Finishes the Baking
When the beep sounds, the process does not stop: the heat left inside the batter keeps setting it for one or two minutes. Take the cake out a notch before it looks ready and let it rest, because extra baking time is always paid for in texture.
The Base: Proportions for a Mug Cake That Actually Rises
The base formula makes one serving and is measured with spoons, which is how you keep it under control when there is no scale at hand. For a 350 ml (12 oz) mug:
- 4 tablespoons of flour (without baking powder)
- 4 tablespoons of sugar
- 2 tablespoons of cocoa powder (if you skip it, add 2 more of flour)
- 1 egg
- 3 tablespoons of milk
- 3 tablespoons of mild-flavoured oil
- 1/4 teaspoon of baking powder
What holds the recipe together is the balance between the dry ingredients, the liquid and the leavening. Changing one measure without adjusting the others is where most dense mug cakes come from: more flour or less milk gives a batter that never manages to rise.
How to Mix Without Making It Rubbery
Put the dry ingredients in the mug first (flour, sugar, cocoa and baking powder) and stir with a fork so the leavening is spread through. Then add the wet ones and mix until just combined, with short strokes: as soon as there are no lumps left, stop. Overmixing develops gluten and makes the cake rubbery.
The Right Mug and How Much to Fill It
The ideal mug is around 350 ml. Fill it no more than halfway, or up to two thirds if it is wide and deep: the batter needs that free space to grow without overflowing or baking unevenly.
Cooking Times by Microwave Wattage
Your appliance's power matters more than any recipe. These ranges are a starting point for a single mug:
| Microwave wattage | Time for one single-serving mug |
|---|---|
| 600 to 700 W | 2 to 2.5 minutes |
| 800 to 900 W | 1.5 to 2 minutes |
| 1000 W or more | 1 to 1.5 minutes |
To tell whether it is ready, look before you check the clock: the edges pull away from the mug on their own and a toothpick comes out clean or with a few moist crumbs. If the centre is still wet, put it back in bursts of 10 to 15 seconds, never a whole extra minute: a short burst can be corrected, one extra minute cannot.
How to Find Your Wattage When the Label Is Not at Hand
The rating plate is usually behind or underneath the appliance, and on many models the high-power setting shows on the panel. If there is no figure in sight, start with 1 minute and add short bursts: within two tries you will have your appliance's exact time.
The Mistakes That Leave It Rubbery, Dry or Raw
Almost every failed mug cake falls into one of these groups:
- Overbaking. Thirty extra seconds evaporate the water in the batter and turn it into rubber. It is the most common cause of a rubbery mug cake and it cannot be fixed afterwards.
- Eyeballing the proportions. Too much flour or too little liquid gives a dense, dry batter: level the spoon instead of leaving it heaped.
- Batter folded into a small mug. It overflows and bakes unevenly: the centre stays raw while the edges harden.
- The wrong container. Traces of metal or gilded rims spark and ruin the baking.
A Quick Check Before You Press Start
- Dry ingredients levelled and stirred together inside the mug.
- Wet ingredients added and mixed only until combined.
- Mug filled no more than halfway, with no metal on the rim.
- Time chosen for your wattage, with the timer ready for short bursts.
Containers and Safety: What Goes in the Microwave and What Does Not
Microwave-safe ceramic or glass, with no metallic paint or gilded edges; plastic is fine only if it carries the microwave-safe mark. Metal, aluminium foil and cutlery are always out. And never cover it airtight: if you cover it to stop splatters, leave an air vent, because trapped steam builds pressure.
There is one detail at eating time: the centre and the chocolate chips burn far more than they look like they will, so wait a minute before the first bite. Also, greasing the mug lightly makes the cake come out in one piece, and keeping the turntable clear with the mug in the centre helps the baking stay even.
Variations: Chocolate, Lemon, Banana, Oats and Gluten-Free
On the same base you can change flavours without touching the method:
- Lemon: swap the cocoa for the zest of one lemon and a tablespoon of its juice.
- Banana and cinnamon: half a mashed ripe banana and a pinch of cinnamon; since it brings sweetness, you can cut the sugar in half.
- Coffee: a teaspoon of instant coffee dissolved in the milk intensifies the chocolate and brings it closer to a brownie.
- Oats: ground oats instead of wheat flour: it rises less and stays moister, so add an extra tablespoon of milk.
- Gluten-free: with a gluten-free blend the lift is weaker; increase the baking powder and do not overmix.
- Egg-free: replace the egg with half a mashed banana or 3 tablespoons of plain yogurt and raise the baking powder. It comes out moister and less airy.
Calories, Servings and What to Do with Leftovers
A single mug runs around 350 to 450 kcal depending on the sugar, the oil and any chocolate filling. That is an estimate calculated from the ingredients, not a laboratory measurement; the chart of Chilean food calories uses the same criteria for comparison.
The best moment to eat it is warm and just made, because it firms up as it cools. If there is any left, keep it covered in the fridge for a day or two and reheat it for 10 to 15 seconds with a damp paper towel on top. What you should not try is a large cake: for layer cakes the oven is still the right tool, as explained in the guide on how to use an oven.
Other Express Bakes in the Microwave
The same mug-and-minutes logic works for a brownie in a mug, an individual lemon cake, an oat cake or savoury rolls. The site already has direct references: the chocolate cake in a mug, ready in under five minutes, the cheese pie or express rolls in the microwave and a quick and easy lemon cake that adapts well to small servings.
If you plan to scale the measures, the guide on how to measure ingredients explains how to convert spoons and cups into grams. And if the result is for later, the article on how to reheat food in the microwave is the natural companion to this one: here you bake, there you reheat without drying anything out. The microwave does not compete with the oven, it solves the craving for one portion in five minutes.
The Tip That Saves Any Mug Cake
Three things before you press start: measure with level spoons, fill the mug halfway and set less time than you think you need. When the toothpick comes out clean or with a few moist crumbs, take it out and let it rest: residual heat finishes the baking. Those fifteen seconds less are the difference between a fluffy mug cake and a chewy one.